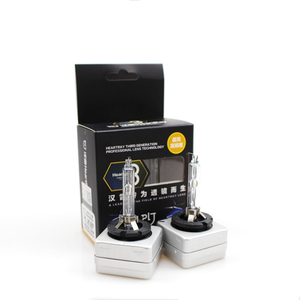
Types of Xenon OEM Bulbs
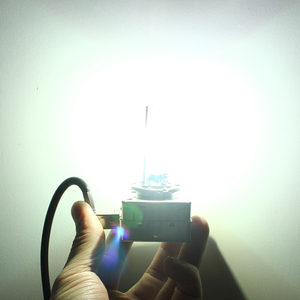
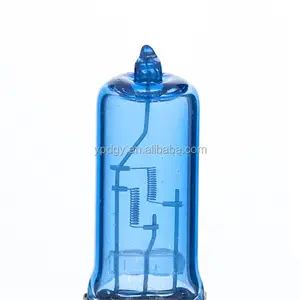
Xenon OEM bulbs are high-intensity discharge (HID) headlights that use xenon gas to produce a bright white light. Unlike traditional halogen bulbs that rely on a tungsten filament and heated electrical current, xenon bulbs work by sending an electrical charge between two electrodes in a chamber filled with xenon gas and metal salts. The discharge ionizes the xenon gas, creating a plasma that emits light. This design results in much brighter illumination compared to halogen bulbs.
Xenon OEM bulbs come in various types to suit different vehicles and preferences:
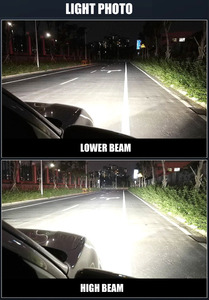
- Single Xenon Bulbs: These standard bulbs are used in vehicles with basic headlight systems. They use one xenon bulb for both low and high beam settings. When the high beams are needed, the low beam bulb mechanically moves to provide extended light coverage.
- Dual Xenon Bulbs: Many modern cars with advanced headlight systems opt for dual bulbs. Each headlight contains two xenon bulbs - one for low beams and another for high beams. This allows for precise control of light intensity and direction, improving visibility.
- Bi-Xenon Bulbs: Bi-xenon bulbs are designed to be more compact and cost-effective. They contain a single xenon bulb that can switch between low and high beam modes. Rather than using separate bulbs, the bi-xenon mechanism physically moves a shutter inside the bulb to redirect light for high beams. This versatility is particularly useful in small engine bays.
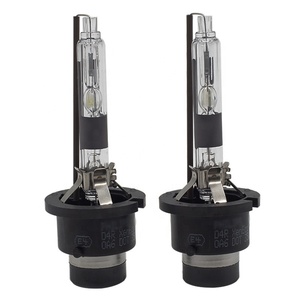
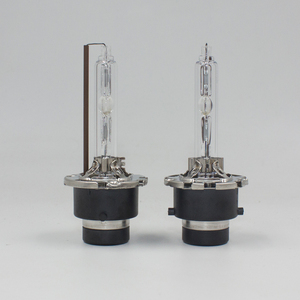
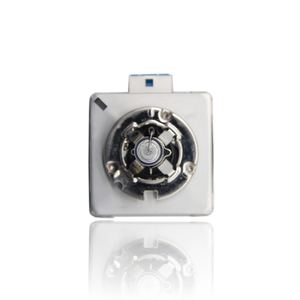
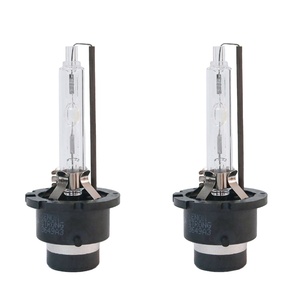
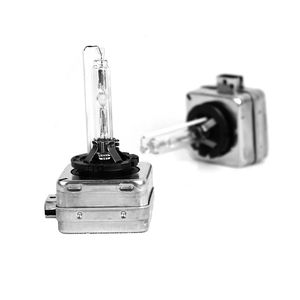
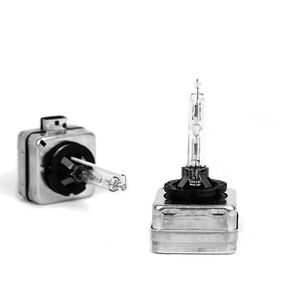
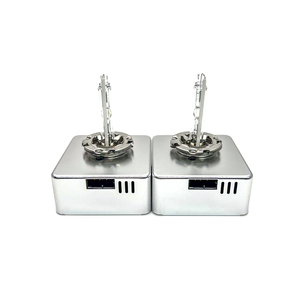
- D2S Bulbs: D2S bulbs are commonly found in luxury vehicles and high-performance sports cars. They have a base with two small pins that lock into specialized D2S-compatible ballast sockets. The pins ensure a stable connection but limit use in most standard ballasts.
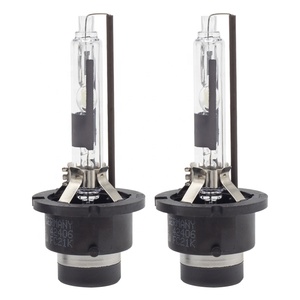
- D2R Bulbs: Like the D2R model, D2R bulbs are designed for use in reflector-style headlights. They have a coating on the glass that blocks some of the emitted light. This prevents glare and is ideal for applications where the beam must reflect off surfaces.
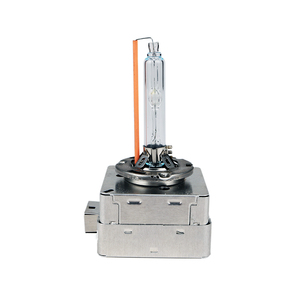
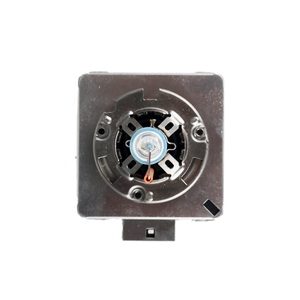
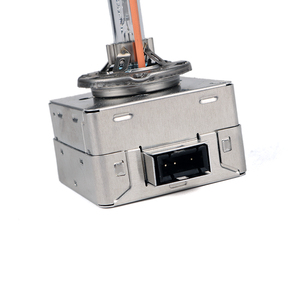
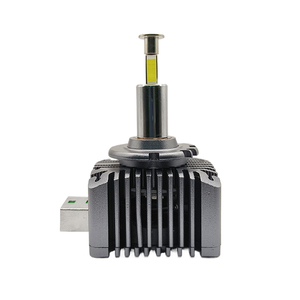
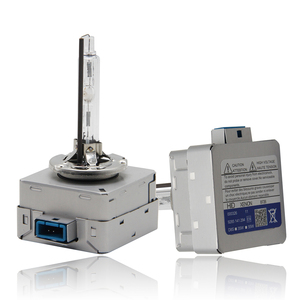
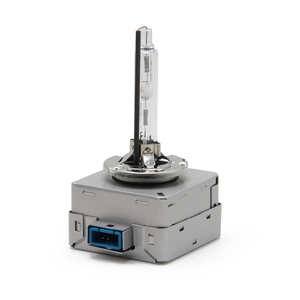
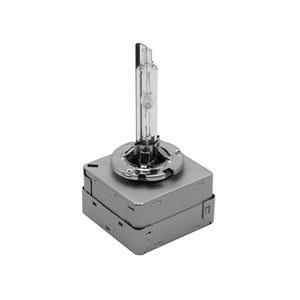
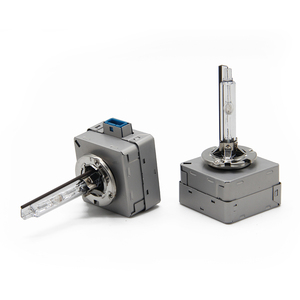
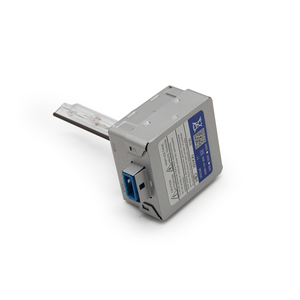
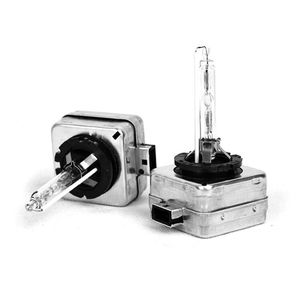
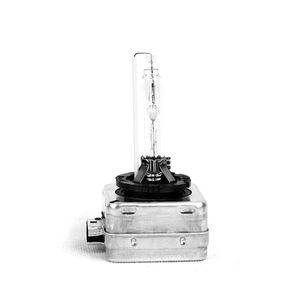
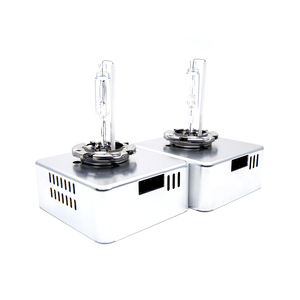
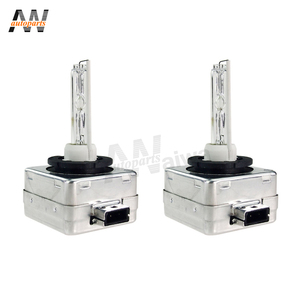
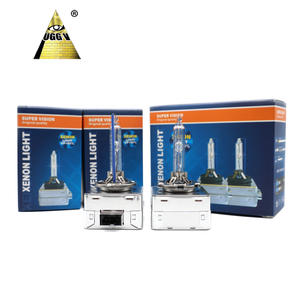
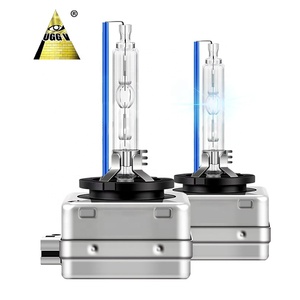
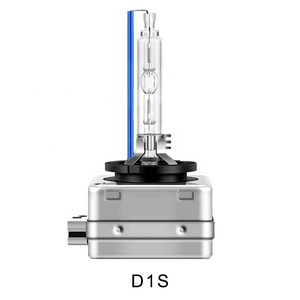
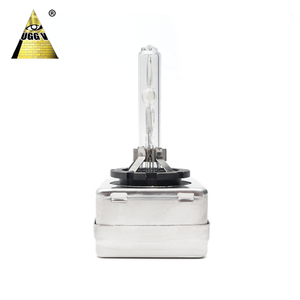
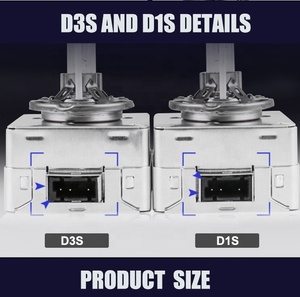
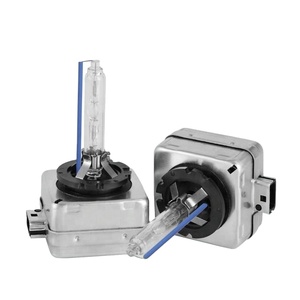
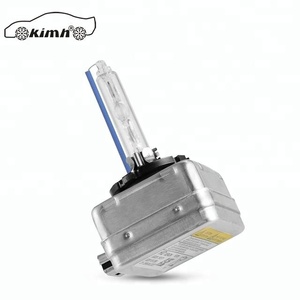
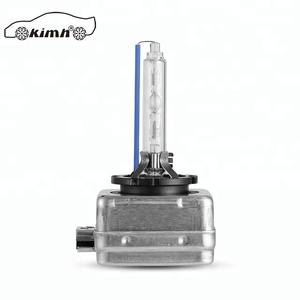
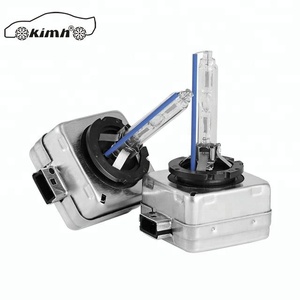
- D1S and D1R Bulbs: D1S and D1R bulbs are newer technologies with even faster warm-up times and improved color stability. They are also more energy efficient. The D1S bulbs work with projectors, while the D1R bulbs are compatible with reflectors.
Specifications and Maintenance of Xenon OEM Bulbs
The specifications of Xenon OEM bulbs vary depending on the type. However, the average wattage ranges from 35 watts to 42 watts.
-
Voltage
Xenon OEM bulbs have different voltages depending on the type. The voltage for most OEM bulbs is 85V. However, some newer models have a voltage of 50V. The lower voltage is suitable for energy-efficient bulbs. They use up to 30% less energy than the 85V bulbs.
-
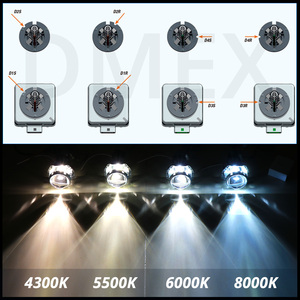
Color temperature
The color temperature of xenon bulbs affects the color of light emitted. Different types of bulbs have different color temperatures. The standard color temperature for most OEM bulbs is between 4100K and 5100K. However, some models have a color temperature of 6000K. Bulbs with 6000K have a bluish-white light.
-
Lumen output
The lumen output for Xenon OEM bulbs varies depending on the type of bulb and model. However, the lumen output for most bulbs ranges from 3000 to 4000 lumens.
-
Base type
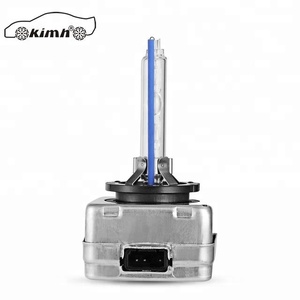
Xenon OEM bulbs have different base types. The base type determines how the bulb is connected to the vehicle. Some common base types include P32d-2, D2S, D2R, and PGJ19-1.
Maintaining Xenon OEM bulbs is essential for ensuring they last longer and provide better illumination. Here are some maintenance tips:
-
1. Regular cleaning: Dust, grime, and debris can build up on the surface of the bulbs, making them dirty. This can reduce their illumination. Therefore, it is important to clean the bulbs regularly to ensure they are clean. Use a soft cloth with mild soap and water to wipe the bulbs. Avoid using abrasive materials because they can scratch the bulb's surface.
-
2. Check for damage: Inspect the bulbs regularly to check for any signs of damage. This includes cracks, chips, and discoloration. Damaged bulbs will emit less light. If any damage is noticed, replace the bulb immediately.
-
3. Proper handling: When replacing or installing the bulbs, handle them with care. Avoid touching the glass part of the bulb with bare hands. Oils from the skin can cause hot spots and reduce the lifespan of the bulb.
-
4. Use the right ballast: Ensure that the right ballast is used with the bulbs. The ballast should be compatible with the bulbs. Using an incompatible ballast can result in flickering lights or reduced performance.
How to Choose Xenon OEM Bulbs
To choose the right kind of Xenon OEM bulbs, here are some important factors that need to be considered:
-
Compatibility
To ensure compatibility with the socket of the vehicle's headlight assembly, it's important to check the bulb's type and model number. This information can usually be found in the vehicle's owner's manual or by searching online.
-
Lumen Output
The lumen output of a Xenon OEM bulb determines its brightness. For a well-illuminated road ahead, choose a bulb that matches or exceeds the output of the original bulb.
-
Color Temperature
Xenon OEM bulbs are available in various color temperatures that range from warm yellowish tones to cool bluish-white tones. To complement the vehicle's design, choose a color temperature that suits its aesthetics and preferences.
-
Wattage
Xenon OEM bulbs come in different wattages. It's important to select a bulb with a wattage that matches the original bulb. This will prevent electrical system overload and ensure optimal performance.
-
Quality and Reliability
Only original Xenon OEM bulbs should be sourced from reputable suppliers or directly from the vehicle manufacturer. This will ensure quality, reliability, and adherence to safety standards.
-
Installation
The installation process of the Xenon OEM bulb should be considered. To easily install the bulb themselves, choose a model that offers a straightforward installation process or one that requires professional installation.
-
Warranty
A warranty should be chosen for added peace of mind and assurance of product quality. In case of any defects or issues, this will provide coverage.
All these factors should be carefully evaluated before making a decision. This will ensure that the selected Xenon OEM bulb meets the requirements and offers optimal performance and durability.
How to DIY and Replace Xenon OEM Bulbs
Replacing xenon OEM bulbs is a straightforward process that can be done at home with the right tools and safety precautions. Here's a step-by-step guide on how to replace them:
-
1. Choose the Right Replacement Bulb:
When replacing a Xenon bulb, it's important to choose one that meets the manufacturer's specifications. The new bulb should have the same wattage, voltage, and Kelvin color temperature as the original one. This information can usually be found in the vehicle's owner's manual or by searching online. If unsure, consult with a professional to ensure the correct bulb is selected.
-
2. Gather Necessary Tools:
To replace a Xenon bulb, some tools will be needed:
• Screwdrivers (flathead and Phillips)
• Gloves (preferably latex or nitrile)
• Safety glasses
• Trim removal tool (for some vehicles)
-
3. Prepare the Vehicle:
Park the vehicle on a flat surface and turn off the engine. Engage the parking brake and open the hood to access the headlights. Depending on the vehicle, removing some exterior parts may be required to reach the headlight assembly. Use the appropriate screwdriver to remove the screws or fasteners securing these parts and set them aside.
-
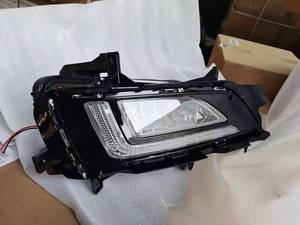
4. Remove the Headlight Assembly:
Locate the screws or bolts holding the headlight assembly in place and remove them. Gently pull the headlight assembly forward to access the rear of the assembly, where the bulbs are located. Depending on the vehicle, the headlight may be held in place with clips or rubber grommets that need to be detached to remove the headlight.
-
5. Replace the Bulb:
Once the headlight assembly is loose, flip it over to expose the bulb sockets. It's best to wear gloves as the oils from the skin can affect the bulb's performance and lifespan. Carefully twist and remove the bulb socket from the headlight assembly. Gently pull out the old bulb from the socket and dispose of it according to local regulations. Take the new Xenon bulb out of its packaging and avoid touching the glass portion with bare hands. Insert the new bulb into the socket and ensure it fits securely.
-
6. Reassemble:
Carefully insert the bulb socket back into the headlight assembly and twist it to secure it in place. Reattach the headlight assembly to the vehicle and secure it with the screws or bolts removed earlier. Reinstall any exterior panels or trim pieces removed during disassembly and secure them with their fasteners. Close the hood and ensure all components are properly secured.
-
7. Test the Headlights:
Start the vehicle and test the new Xenon bulb to ensure it functions correctly. Adjust the headlight alignment if necessary. If the headlights do not work, double-check all connections and installations to ensure they are correct. If unsure or uncomfortable performing the replacement, consult a professional mechanic or visit an authorized service center to replace the Xenon bulb safely and correctly.
Q and A
Q1. Are xenon OEM bulbs worth the money?
A1. Xenon OEM bulbs can be worth the investment, especially for those looking for better visibility on the road. They offer a brighter light and a longer lifespan than halogen bulbs. The cost should be weighed against these benefits.
Q2. Do OEM bulbs have any warranties?
A2. Many manufacturers offer warranties for their bulbs. The warranty length may differ depending on the brand and the bulb model. Users should keep the receipt as proof of purchase to claim the warranty if needed.
Q3. Can I use an OEM xenon bulb in any vehicle?
A3. Xenon bulbs are not compatible with all vehicles. They require a special ignition system. Additionally, not all vehicles are designed to use xenon bulbs. Xenon bulbs generate a lot of heat. Using them in a vehicle that is not designed for them can be dangerous because it can cause fires.
Q4. Can I install OEM xenon bulbs myself?
A4. It is possible to install OEM xenon bulbs without professional help. However, the process is a bit complicated and requires some knowledge about vehicle electrical systems. If the bulbs are not installed correctly, they can cause damage to the vehicle or even be a safety hazard. If users are not sure they can install the bulbs correctly, it is best to seek help from a professional.


 浙公网安备 33010002000092号
 浙B2-20120091-4