Types of Honda Rancher oil filter
Honda Rancher oil filters are an essential part of the Honda Rancher series of ATVs and UTVs, known for their reliability and durability. The Honda Rancher oil filter, like other oil filters, is used to remove contaminants from engine oil, thereby protecting the engine from damage. Given the important role that Honda Rancher oil filters play, it is important to know the different types so that buyers can make informed decisions. Below are some of the common types of Honda Rancher oil filters:
-
Spin-On Oil Filter
This oil filter is designed to be screwed directly onto the engine block. Spin-on oil filters are easy to replace and are commonly used in Honda Rancher models. They are less messy and have a built-in sealing gasket.
-
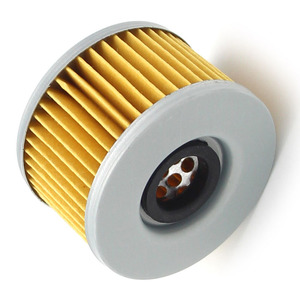
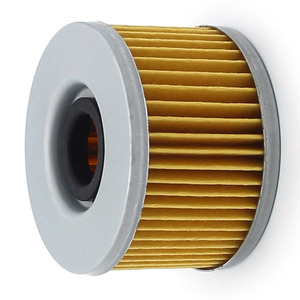
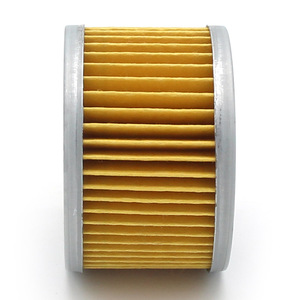
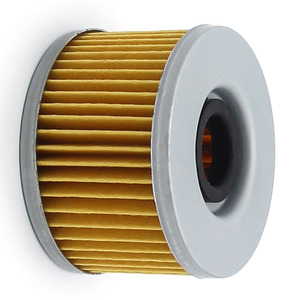
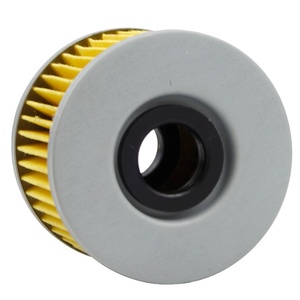
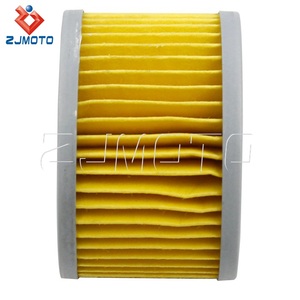
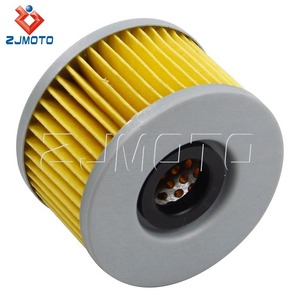
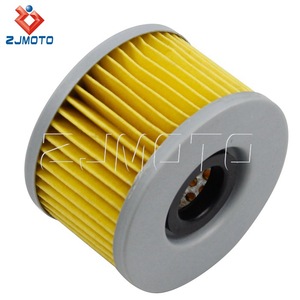
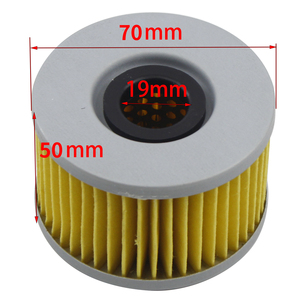
Cartridge Oil Filter
Cartridge oil filters are used in Honda Rancher models with a central housing. They are environmentally friendly, as they produce less waste.
-
High-Performance Oil Filter
These filters are used in Honda Rancher models designed for high performance. They have a higher filtration efficiency and a greater flow rate, which is suitable for high-performance engines.
-
Magnetic Oil Filter
Magnetic oil filters use magnets to remove metallic particles from the engine oil. They help to prolong the life of the oil filter and the engine.
-
Composite Oil Filter
Composite oil filters are used in Honda Rancher oil filters made from a combination of materials to enhance filtration efficiency and structural integrity.
Specifications and maintenance of honda rancher oil filter
-
1. Frequency of oil filter change
The oil filter on the Honda Rancher should be changed every other time an oil change is performed. This is typically every 6 months or every 1000 miles.
-
2. Proper tools
To change the oil filter, a 17mm socket or wrench, and a flathead screwdriver to remove the old filter cover will be needed. An oil catch pan will also be required to collect draining oil.
-
3. Preparing for the oil change
Before changing the oil, run the engine for a few minutes to warm the oil. This allows it to flow out of the engine more easily. Place the Honda Rancher on a level surface and engage the parking brake. Then, remove the access cover from the oil filter.
-
4. Draining old oil
Use the 17mm socket or wrench to loosen the oil filter and allow the oil to drain into the catch pan. Use a flathead screwdriver to remove the oil filter cover if needed. Be careful not to strip the screws.
-
5. Removing the old oil filter
Once all the oil has drained, use an oil filter wrench to remove the old oil filter. Remember, some oil will still be in the old filter, so be careful when removing it.
-
6. Installing the new oil filter
Lubricate the rubber gasket on the new oil filter with fresh oil. Then, screw the new filter onto the engine by hand until snug. Finally, use the wrench to tighten it an additional quarter turn.
-
7. Checking for leaks
Start the engine and let it run for a few minutes. Then, inspect the oil filter and surrounding area for any signs of leaking oil. If none are found, replace the access cover and move on to the next maintenance step.
How to choose honda rancher oil filter
Business buyers should consider several factors when purchasing Honda Rancher oil filters for resale or use in maintenance shops. Here are some of them:
-
Compatibility
Buyers should ensure the oil filters are compatible with various Honda Rancher models. They should check the filter's specifications and cross-reference them with the Honda Rancher oil filter compatibility charts. This ensures the filters will fit into the Honda Rancher models without any modifications.
-
Quality
Quality is a crucial factor for buyers. High-quality filters provide better filtration and can sustain more extended service periods. This means the oil filters will protect the engines from harmful debris and reduce the need for frequent replacements. Additionally, high-quality filters have a longer lifespan, which makes them a cost-saving solution.
-
Brand
Buyers should purchase oil filters from reputable brands. Reputable brands have a history of producing quality filters that meet and surpass customers' expectations. Furthermore, buyers can find numerous reviews about the quality of the oil filters from other buyers. These reviews can help buyers make informed decisions. Additionally, reputable brands offer quality products consistently.
-
Price
Buyers should purchase oil filters that will give them value for their money. They should compare the quality of oil filters and their prices and settle for what meets their budget. Additionally, they should watch out for products that are too cheap to be true.
-
Warranty
Buyers should consider oil filters with a substantial warranty period. The warranty is a show of confidence that the manufacturer believes their product will serve the buyer well. Furthermore, in case of any defects, the warranty will protect the buyer from losses.
-
Oil filter wrench
Buyers can get oil filter wrenches to make oil filter changes easier. It is wise to purchase a variety of sizes to suit different Honda Rancher models. Furthermore, they can be a good addition when buying oil filters.
How to DIY and Replace
Honda Rancher oil filter replacement is a simple process that can be done at home. Below is a step-by-step guide on how to do it:
Gather the necessary tools
- Oil filter wrench
- New oil filter
- Fresh engine oil
- Drain pan
- Gloves and safety glasses
- Jack and jack stands
Prepare the Rancher
For safety and stability, ensure the Honda Rancher is on level ground and the engine is cool. To raise the Rancher off the ground, use a jack and jack stands.
Drain the old oil
Place a drain pan under the engine to collect the oil. Then, remove the oil drain plug and let the oil flow completely into the drain pan.
Remove the old oil filter
Use an oil filter wrench to remove the old oil filter. In case of difficulty when removing the oil filter, piercing it with a screwdriver can provide more leverage.
Install the new oil filter
Install the new oil filter and ensure it is tightened properly. The oil filter wrench can be used to ensure the filter is snug.
Refill with new oil
New oil should be poured into the engine through the oil fill cap. Using a funnel ensures that the oil goes into the engine without spilling.
Check the oil level
To confirm that the oil level is correct, use the dipstick and add more oil if necessary.
Replace the oil drain plug
The oil drain plug should be reinserted and tightened securely. Before starting the engine, ensure that it is properly sealed to prevent leaks.
Run the engine
To circulate the new oil, start the engine and let it run for a few minutes. Then, check for any leaks around the oil filter and drain plug.
Q&A
Q1: How often should the oil filter be changed?
A1: The oil filter should be changed with every second or third oil change. This is generally every 100 to 300 hours of operation or every 6 to 12 months, depending on usage.
Q2: Can I use any oil filter on a Honda Rancher?
A2: While there are many aftermarket filters available, it is recommended to use the one specifically designed for the Honda Rancher. This ensures proper fit and function.
Q3: What happens if the oil filter is not changed?
A3: Failing to change the oil filter can result in degraded engine oil, potentially leading to engine damage over time due to increased wear and tear from contaminants.
Q4: Is it difficult to change the oil filter?
A4: No, changing the oil filter is a straightforward task that can be done with basic tools. There are many tutorials available online to guide through the process.
Q5: Where can I buy a new oil filter for the Honda Rancher?
A5: New oil filters can be purchased at Honda dealerships, auto parts stores, and online marketplaces like Cooig.com.


 浙公网安备 33010002000092号
 浙B2-20120091-4